ScriptE for Mac: New Stand-Alone File
SET UP WORKFLOW AND FOLDERS
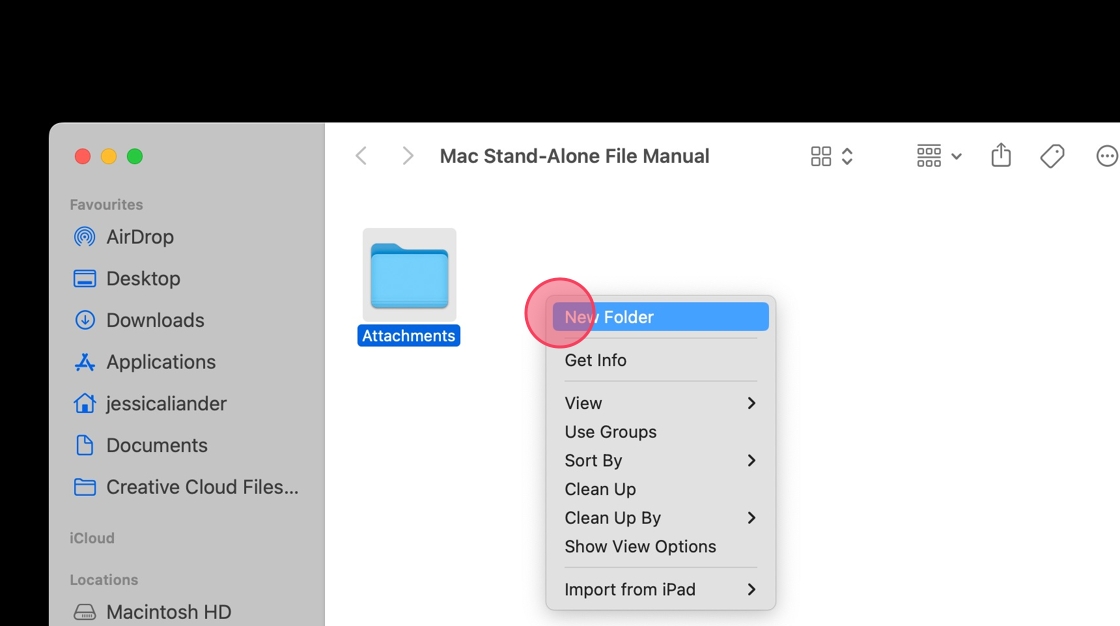
1. Right-click the Desktop group
2. Click "New Folder".
Name the new folder with your project name.

3. Open the new folder.

4. Right-click and create a new folder.
Name it ATTACHMENTS.
This is where you will save files that you want to attach to ScriptE such as floorplans, storyboards, and so on. This will make it easier to find them when you do the initial attachment. After something has been attached in ScriptE, it will live in your ScriptE file.

5. Right-click and create a new folder.
Name it PRODUCTION.
This is where you´ll save crew lists, call-sheets, and other important documents from production.
6. Right-click and create a new folder.
Name it REPORTS.
This is where you will save your reports.

7. Right-click and create a new folder.
Name it SALVAGE.
This is where you will save the automatically generated backups of your ScriptE file, that get created when you import a new revision.

8. Right-click and create a new folder.
Name it SCRIPTS.
This is where you will save all scripts.

CREATE A NEW STAND-ALONE FILE
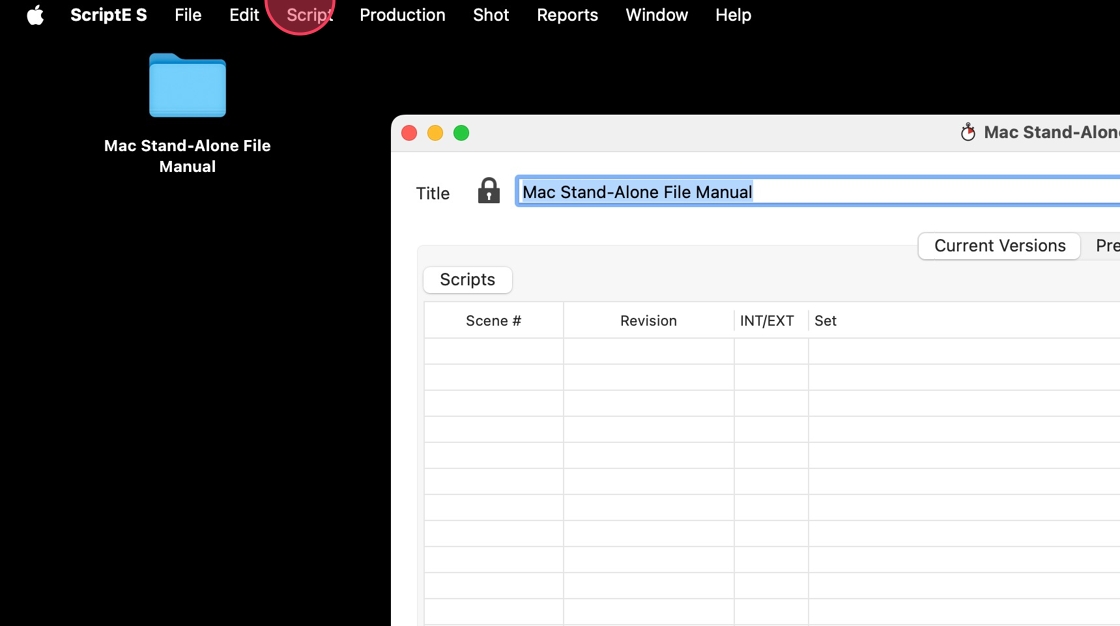
9. Click "ScriptE S"

10. Click "File"

11. Click "New Stand-Alone Production"

12. Name your file and click DESKTOP...

13. ... click the project folder...

14. ... and save.

15. ScriptE will automatically set you up as the FILE OWNER.
Click DONE.

IMPORTING A SCRIPT
16. Click "Script".
17. Click "Revisions"

18. Tap ADD

19. Name your revision version. It is important that this is a UNIQUE name.
Click "Import"

20. Double-click your project file.

21. Open the Scripts folder, where you have saved your scripts.

22. Select the script you want to import.

23. A preview of the script will be shown. Double check that this is the script you want to import
Click PROCEED if you wish to import.

24. When your script has been imported, the character list will open.
Dismiss the list if you don´t want to work on characters now (see separate manuals for character management).
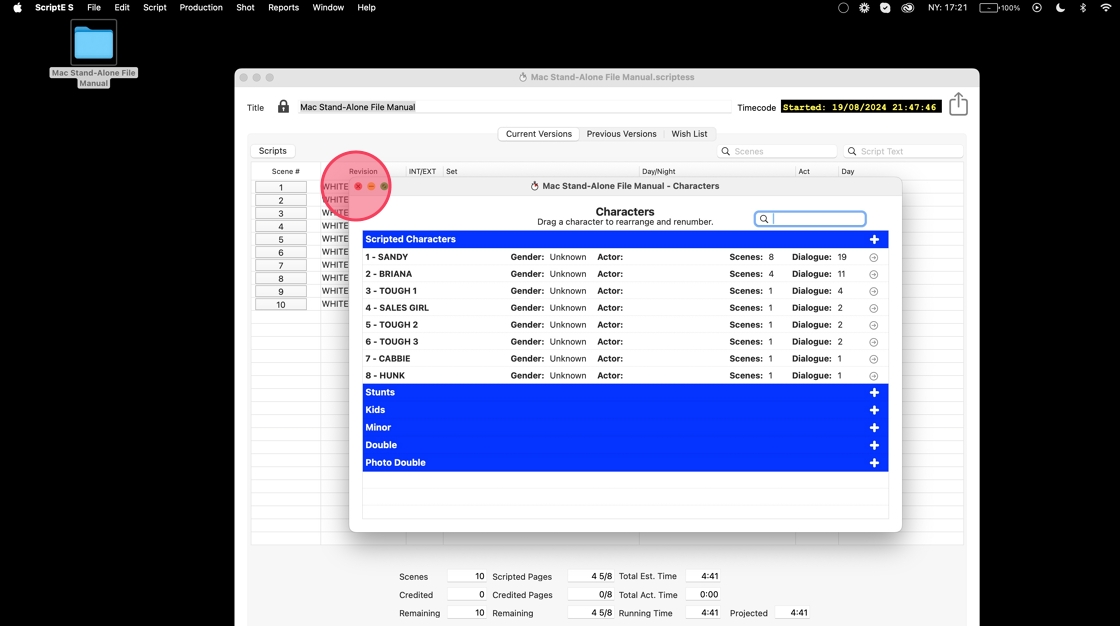
25. Click "Done"

UPLOAD CHANGES AND DOWNLOAD UPDATES
Tip: For an optimal workflow during both pre-production and shooting, please upload your file at the start of the day, at lunch, and at the end of the day.
This practice helps prevent slowdowns and minimizes potential issues.
26. Click the share button

Alert: ALWAYS READ POP UPS and make sure that you select the right response!
Publishing will upload changes and download updates - depending on the file size, this may take a couple of minutes. Do not do this unless you have time.
9 times out of 10, a pop-up means that what you are about to do is something you cannot undo.
YES and NO are not always in the same position in ScriptE, and this is completely intentional to avoid autopilot answers to get rid of the pop-up, but this is not foolproof. Again: ALWAYS READ POP UPS!
27. Click "Yes"

28. Click "Yes"

29. Enter your password. Tap log in.

30. Wait.

31. When the upload is complete, the message will close.

MOVE REVISION BACKUP FILE TO SALVAGE
32. When you imported the script revision, ScriptE automatically generated a backup of the file the way it was before the revision import. This file, you now need to move to SALVAGE.
Open your project file and click on one of the ScriptE files.

33. Scroll through the file name to see if this is the current file, or if it´s named BEFORE [REVISION NAME].
Move the backup file to the SALVAGE FOLDER.
